Mastering the Art of Raked Floors in Revit: A Cinematic Twist on Architectural Design

In the theater world, raked or sloped floors are a common sight. They serve a dual purpose: as a visual trick to manipulate perspective and as a subtle means to guide actors gracefully through a set. However, when it comes to film and television, raked floors aren’t as prevalent. Cameras prefer horizontal surfaces to glide upon smoothly. But today, I’d like to share a technique I recently remembered in Revit that allows you to achieve raked floors effortlessly.


The Revit Revelation: Creating Raked Floors

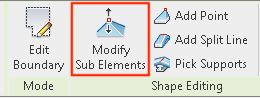
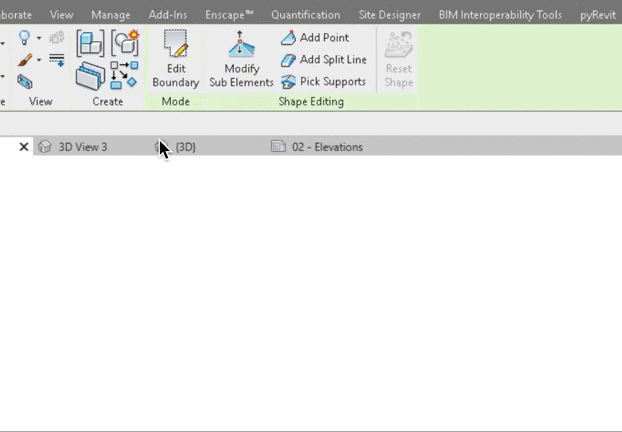
The process is surprisingly straightforward. It begins just like any other floor creation in Revit, but here’s where the magic happens. After creating and selecting your floor, look for the “Modify Sub Elements” button. This button grants you access to the vertices of your shape, giving you the power to create as many as you need. From there, you can adjust the height of each point or boundary line. The result? A floor that transitions smoothly, creating the raked effect you desire.

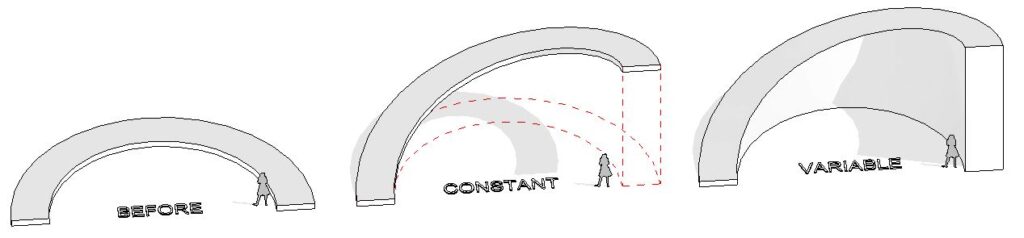
Now, you have some flexibility in how you execute this. You can maintain a consistent thickness for the floor or create a solid ramp-like structure. The choice is yours, thanks to the “variable” checkbox in your floor’s assembly properties.

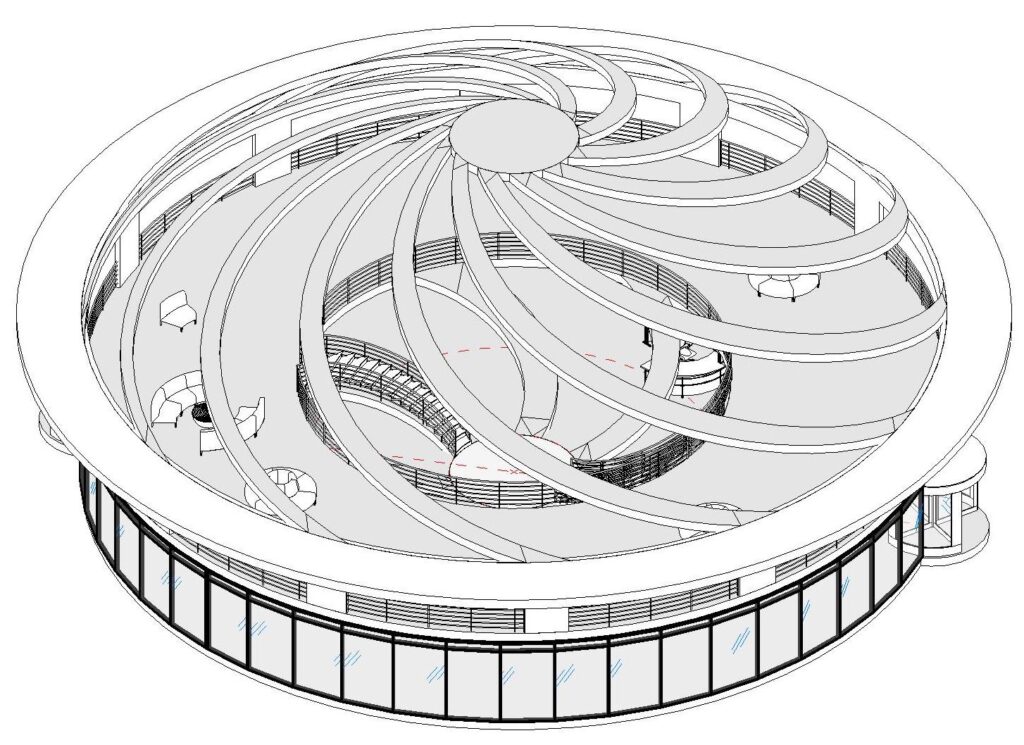
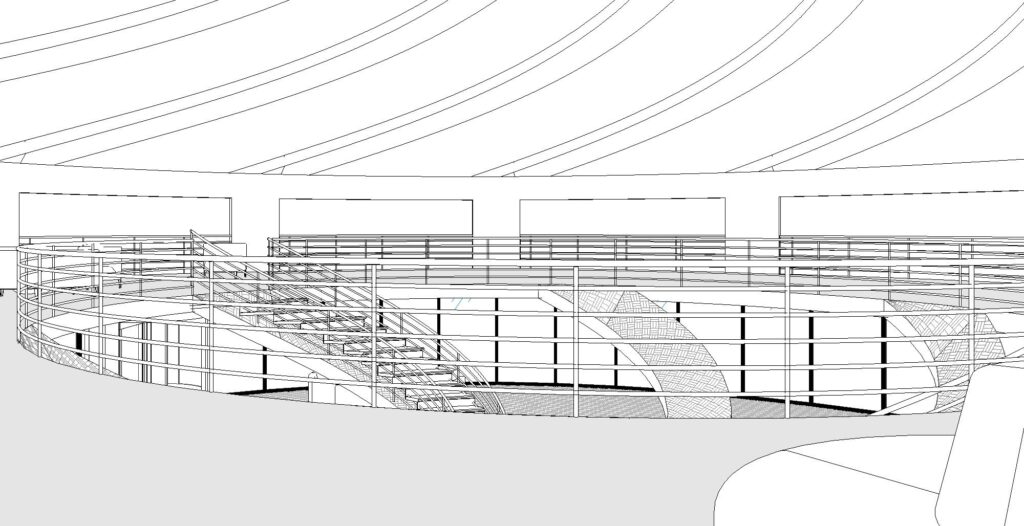
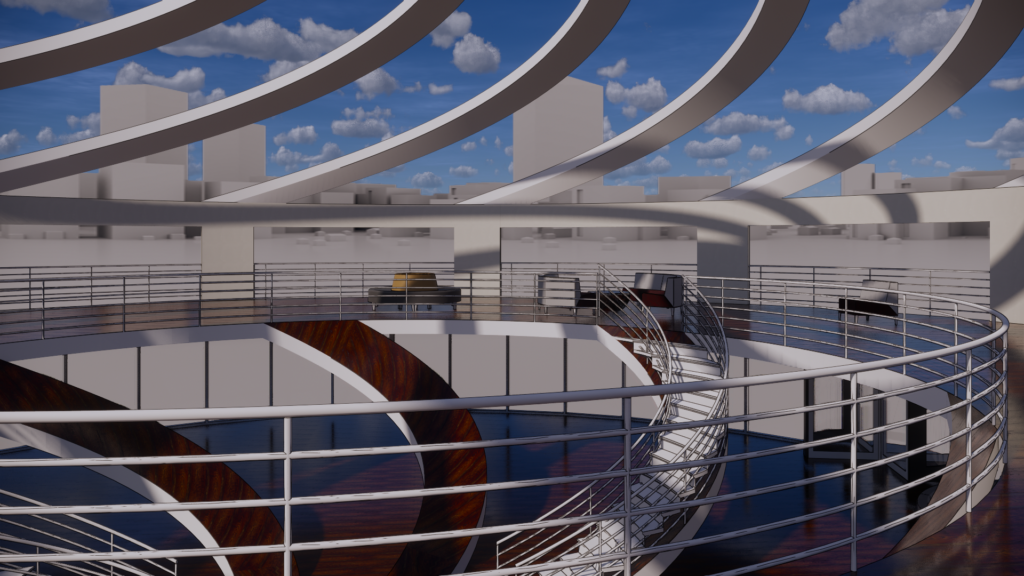
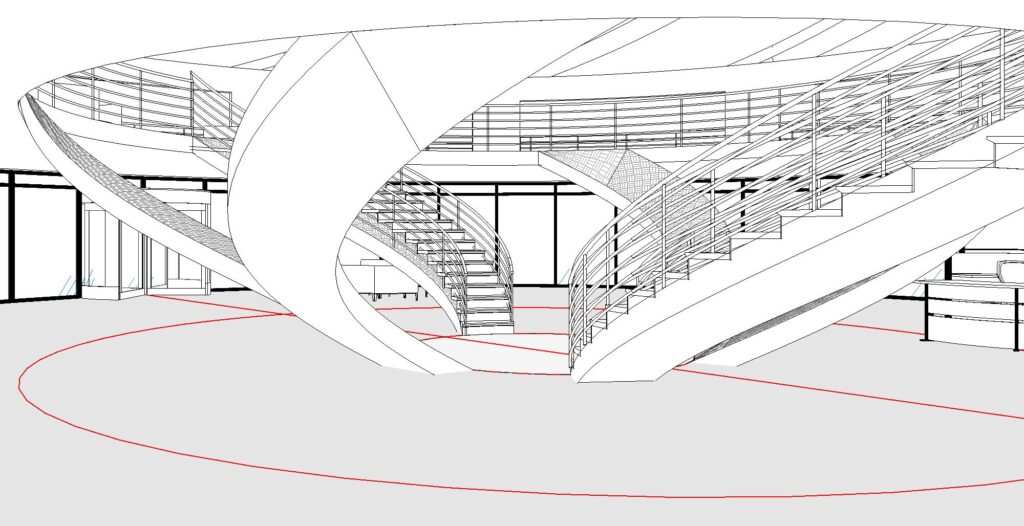
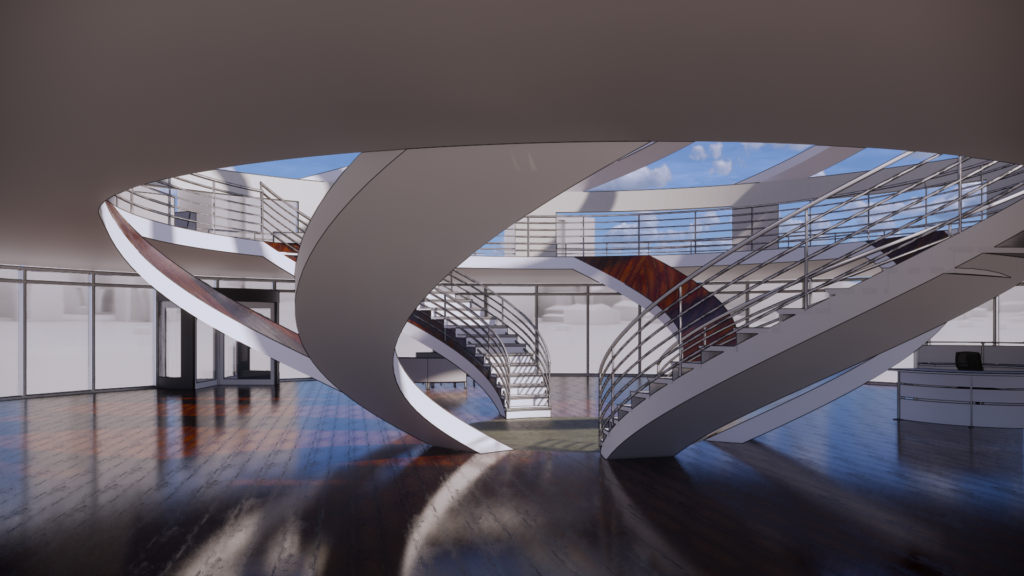
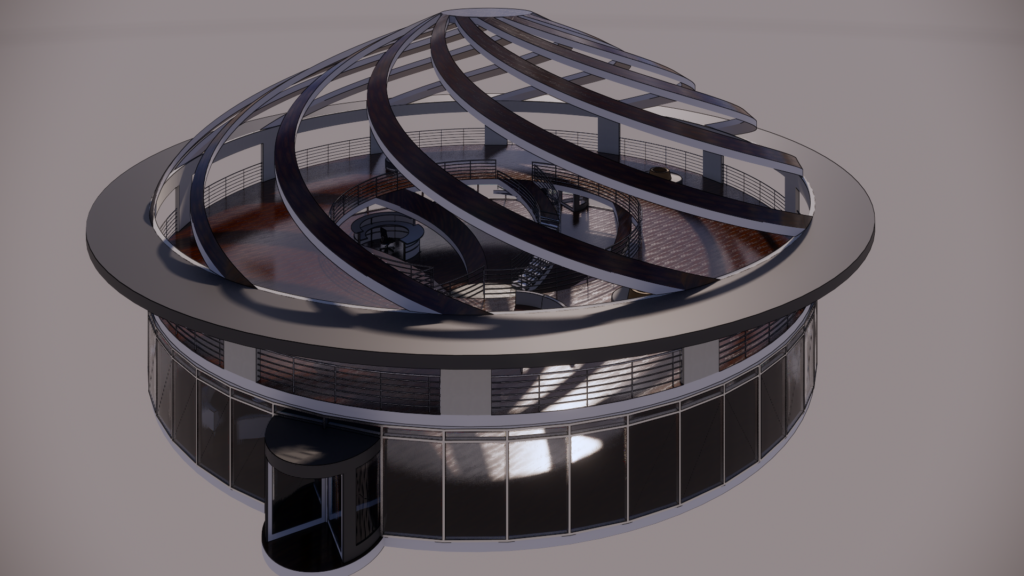
Putting It into Practice: Curved Slopes

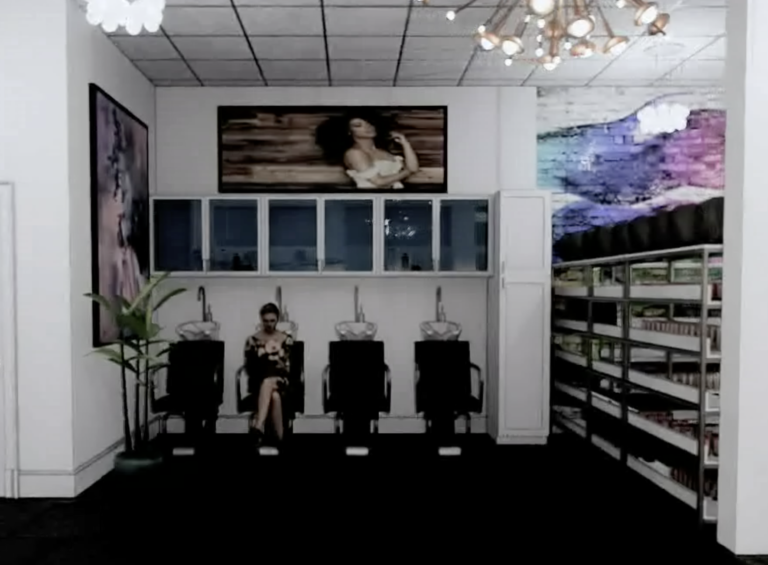
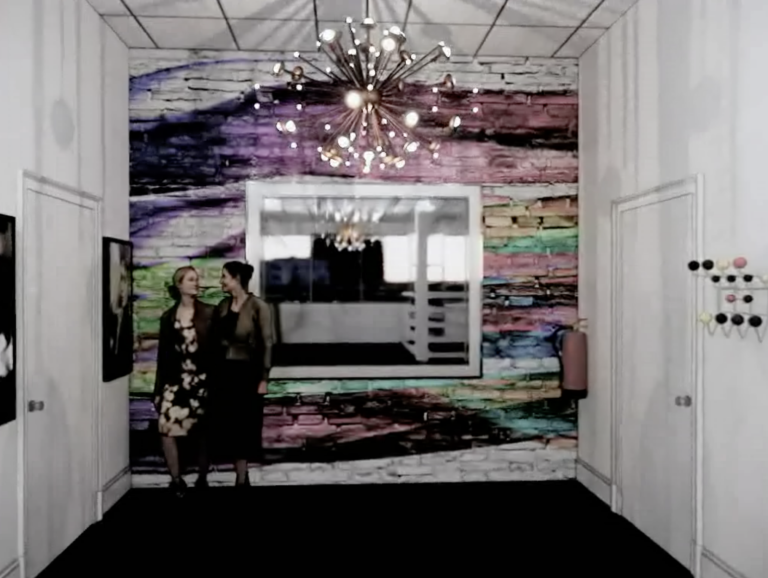
To demonstrate this technique, I recently used it to create curved slopes in a building project. The versatility of this approach allowed me to achieve the desired effect seamlessly.

So, what can you create with this newfound knowledge? I encourage you to experiment and explore the possibilities within your projects.

FloorPlay-DounstairsView3
FloorPlay-DounstairsView2
FlooePractice_2020-01-09-16-46-42
FloorPlay-DounstairsView1
FlooePractice_2020-01-09-16-44-40
FloorPlay-DounstairsView
FlooePractice_2020-01-09-16-50-42

Conclusion: Enhancing Architectural Creativity

In the world of architectural design, versatility is key. Knowing how to achieve effects like raked floors, even in software primarily designed for architectural modeling, can give your projects a unique edge. Whether you’re designing for the stage or screen, Revit’s flexibility can empower your creative vision.

Ready to try it out? If you’d like more detailed instructions on using this technique, you can find them [here](insert Autodesk instructions link).

Let your architectural imagination run wild and see how this technique can add depth and perspective to your designs, just like the magic of theater.

Exploring the Synergy Between Set Design and Real Space Layout

Recently, I immersed myself in a project quite different from my usual endeavors as a set designer. A friend approached me with a request to design a concept for her beauty salon. Armed with little more than blurry photographs of the space, I embarked on a journey that would unexpectedly reaffirm the interconnectedness of my two worlds: set design and accurate space layout.

With a limited timeframe of around 8 hours, I turned to my trusted tools, Revit and Enscape, to breathe life into my vision. The result was a 3D walkthrough that offered a tantalizing glimpse into the potential transformation of the salon’s interior.

While this project had unique constraints and considerations, it was striking how the fundamental principles I apply in set design seamlessly translated to the task. What had started as a favor soon became a reminder of the profound parallels between designing for a narrative-driven set and a functional real-world space?

Set design is an intricate dance of storytelling through spatial arrangement, and it was enlightening to recognize how these same principles apply to the layout of a salon. In both cases, the design should guide people through an experience, whether a film’s narrative or a salon visit’s journey.

https://vimeo.com/377178716

Considerations like flow, accessibility, and the arrangement of key elements play an essential role, just as they do when crafting immersive sets. The real-world functionality of the salon mirrors the practicality that underlies many of my set designs. The salon’s layout must cater to the needs of its clients, just as a film set must facilitate the seamless execution of scenes.

This endeavor was a reminder that, at their core, set design and real space layout share the same foundation – the understanding of how humans interact with and move through spaces. In both worlds, it’s about creating environments that evoke emotions, enhance experiences, and tell a compelling story.

This experience affirmed that the skills and insights gained in one realm can be seamlessly applied to the other. Whether it’s crafting the perfect scene for a film or optimizing a salon’s layout for clients, the art of spatial storytelling remains at the heart of both endeavors. My journey with this beauty salon project served as a delightful convergence of my two passions and a testament to the power of multidisciplinary creativity.

Screen Shot 2019-12-03 at 5.26.04 PM
Screen Shot 2019-12-03 at 5.46.11 PM
Screen Shot 2019-12-03 at 5.46.31 PM
Screen Shot 2019-12-03 at 5.49.12 PM
Screen Shot 2019-12-03 at 5.47.18 PM
Screen Shot 2019-12-03 at 5.48.32 PM
Screen Shot 2019-12-03 at 5.48.51 PM